Revit Cannot Split Face Slope Floor

Split Face Boundary Issues Autodesk Community Revit Products

Problem When Creating Slope On Floor Autodesk Community Revit Products

About Editing Floor And Roof Shape Revit Products 2019 Autodesk Knowledge Network

Solved Bottom Sloped Floor Autodesk Community Revit Products
Video Shape Editing Roof And Floor Slabs Revit Products 2018 Autodesk Knowledge Network
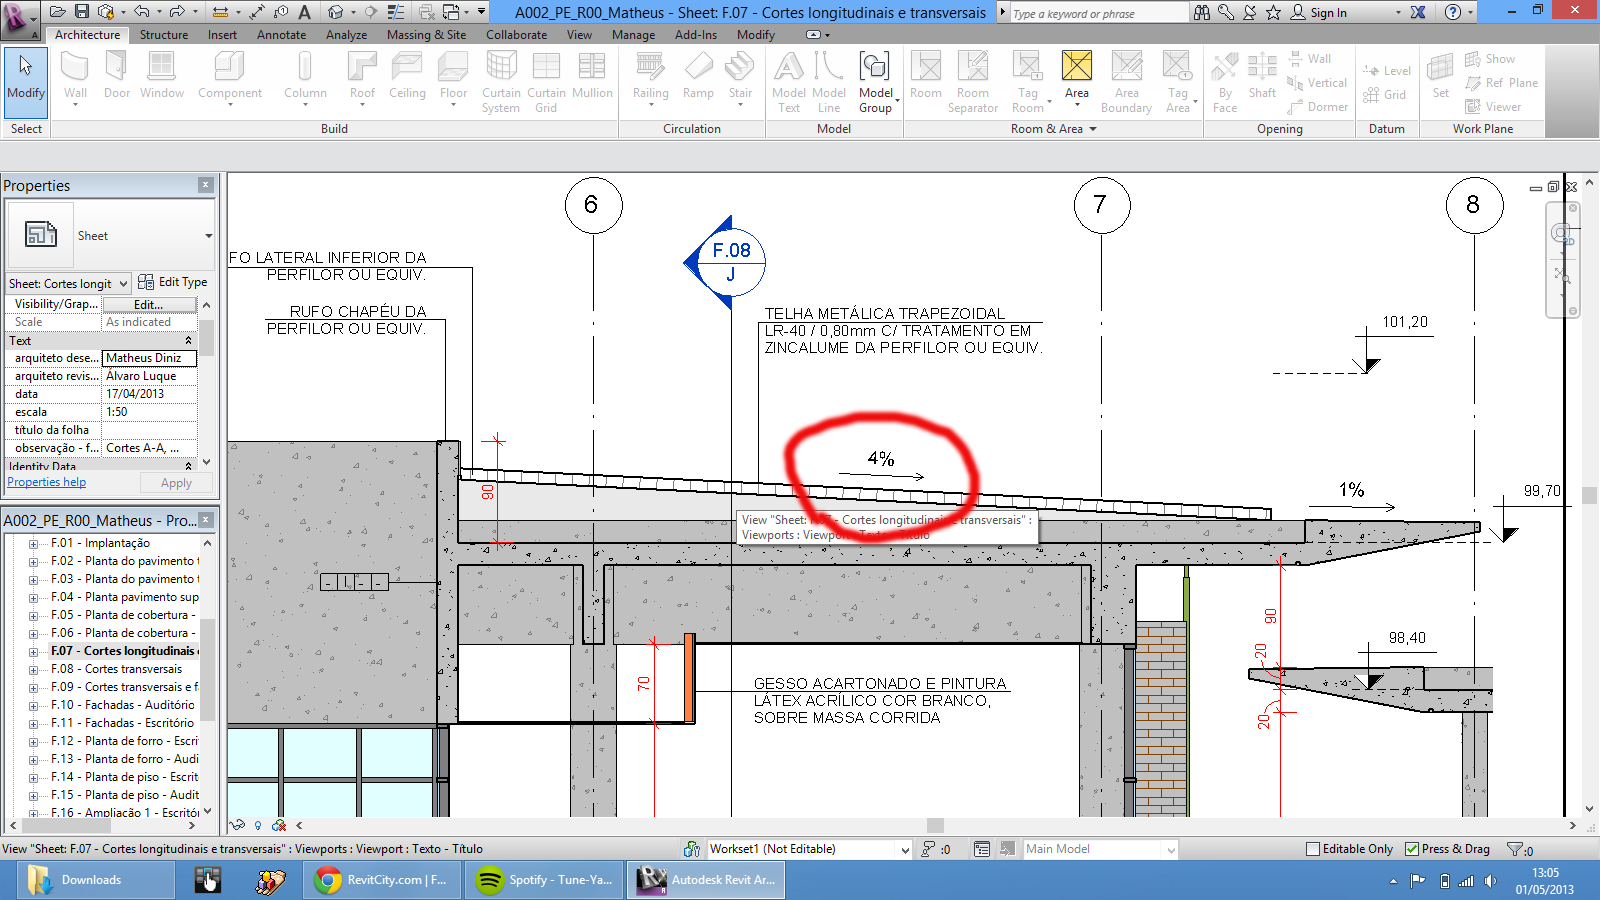
Revitcity Com Spot Slope Annotation Problem Revit 2013
Start points and endpoints can be added anywhere on the face of.
Revit cannot split face slope floor.

Given Below Some Useful Tricks To Simplify The Process For Making Your Building Project Details Quickly In Revit Revit Tutorial Autocad Architecture Program

Introduction To Revit Conceptual Massing Engineering Com Revit Architecture Revit Tutorial Conceptual

Sloped Floors Join With Horizontal And Put A Stair On Top Autodesk Community Revit Products

Create Slanted Deformed And Other Nonstandard Walls In Revit Revit Products Autodesk Knowledge Network
Source : pinterest.com
