Use this technique create identical elements on multiple floors levels.
Revit how to move multiple floors horizontal.
The top and bottom clip planes represent the topmost and bottommost portion of the view range.
A preview image of the element displays.
This revit tutorial explains how to work with multiple levels when.
Be aware that i could lock constraints to the walls if i wish.
4 host railings to sloped walls and floors.
How to copy revit elements from one floor to another.
Some elements can move only horizontally or vertically by default.
Then select your railing click pick new host and click the wall or floor.
Use the view range every plan view has a property called view range also known as a visible range.
An in place family isn t floor based it s based on the workplane that is active in the view for each form you create whether solid or void the purpose of in place families is that they can be created in situ and potentially assigned to categories that component loadable families can t be.
To do this create a railing with create railing path option.
Revit provides visual cues about the way that a selected element can move.
The cursor snaps to snap points.
In the draw panel on the ribbon i ll click rectangle and then draw a rectangle with one corner at the intersection of the left end of the horizontal reference plane and the wall and the other corner at the interior intersection of the walls in the upper right corner of the stairwell.
Move the cursor in the direction that you want the element to move.
Click once to enter a start point for moving.
When you need to revise an in place family it may be necessary to move the hosting work plane if it.
This means if you create a wall with a slope the railing will follow the shape.
The view range is a set of horizontal planes that control the visibility and display of objects in a plan view.
Conversely some elements can move in any direction by default.
Click again to complete the move or for more precision type a value for the distance to move the element and press enter.
This is useful for a repeating floor plan or if you d like to copy elements from one level to another as a starting point for a floor plan.
Some hosting elements like walls.
Select elements to be copied in the active view plan section elevation or 3d view.
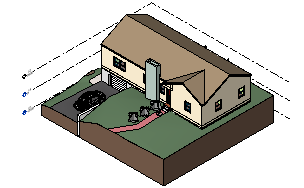
This revit tutorial explains how to work with multiple levels when planning the design for an american style bungalow house.
The horizontal planes that define the view range are top cut plane and bottom.